
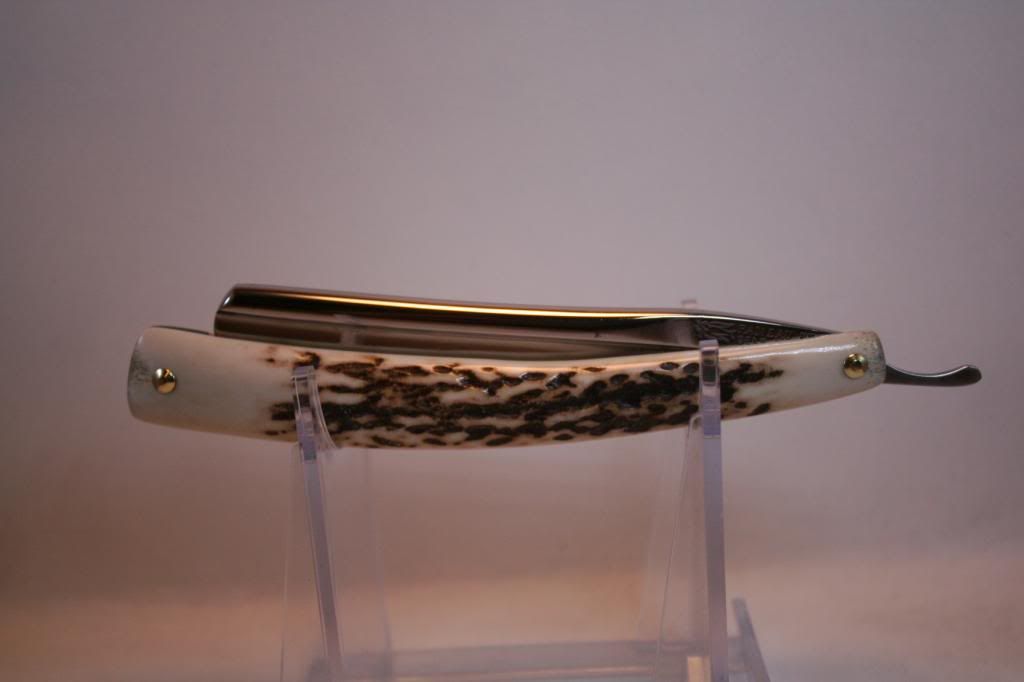
I admired a brush that Steve (Not Sharp) had made so he offered to send some antler that he thought was long enough for scales. I'd never worked with this before so it posed a few problems I wasn't used to - in particular the fact that I usually work with flat blanks of horn or wood.
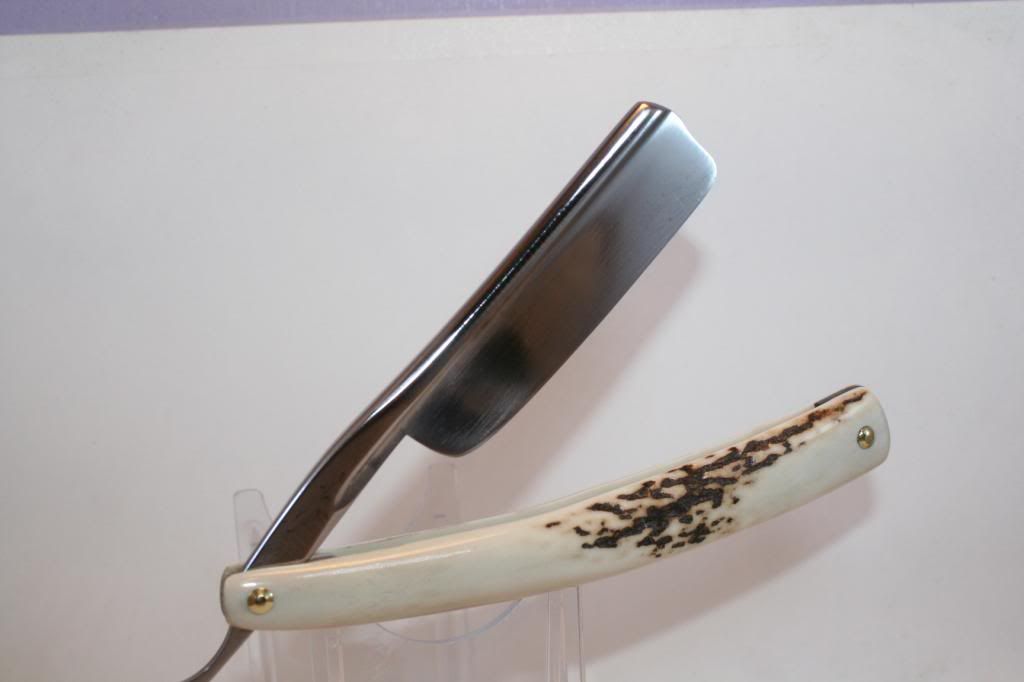
I sawed the antler along its length and then thinned from the insides on a bench sander until each side was roughly equal. By taping together and covering the top scale with masking tape I was able to draw a shape that had been tested on the blade - then more shaping on the sander ant thinning the ends where the pins go. I wanted to retain the bark so wasn't too concerned that the scales are not symmetrical.
The biggest test was getting the pivot and wedge end holes aligned properly - even using a pillar drill on a rounded surface means you are guessing at a 90 degree angle. I ended up drilling approximately half way then testing alignment with a rod of brass pushed into the hole. I then went in from the other side and although the holes met and were not perfect, everything turned out OK because the blade centres properly when closed.
New pictures added


")
